
Professional Fades for Curly, Coily & Wavy Hair: A Texture-First Playbook (San Francisco)
A fade on straight hair is geometry. A fade on textured hair is geometry plus reality: shrinkage, clumping, density, and that one guideline that refuses to leave. 😅
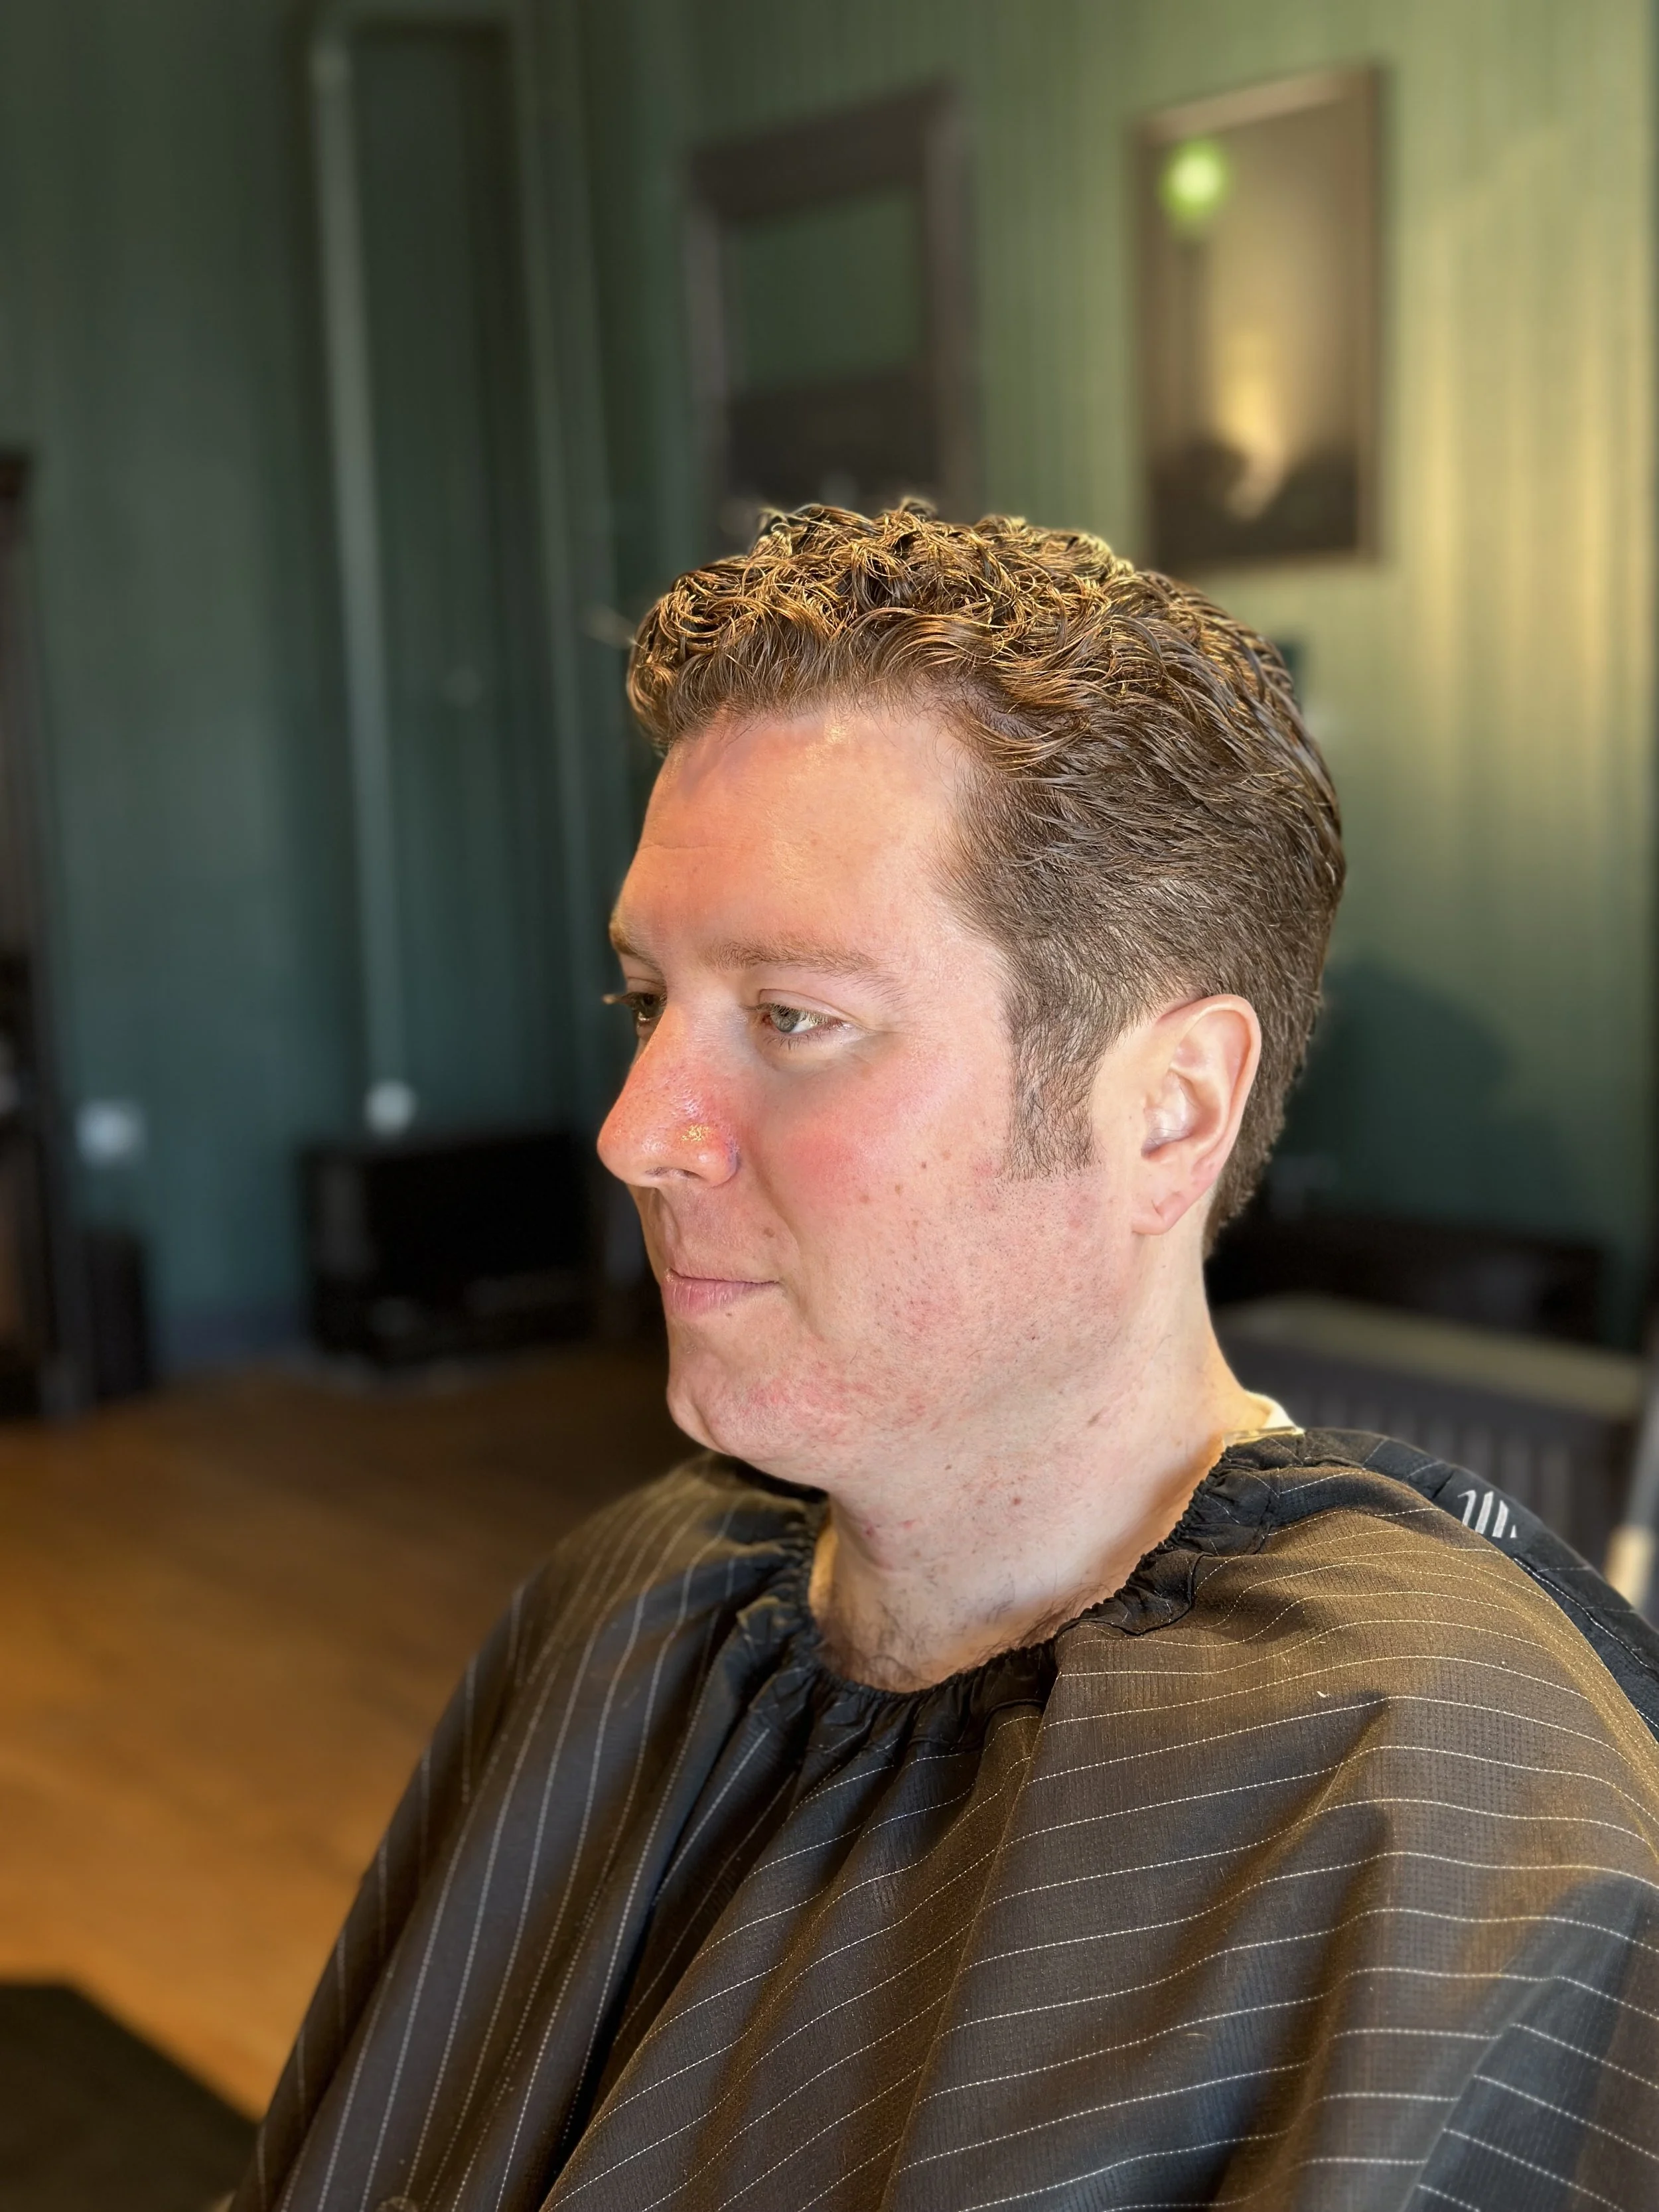
If you’ve ever walked out feeling fresh… then noticed a “shadow line” later, you’re not alone. Curly, coily, and wavy hair changes as it dries, and that dry-down can expose contrast that wasn’t obvious in the chair.
This Barbery Coast playbook is designed around one simple rule:
Fade the texture you have — not the texture you wish you had.
Why Textured Fades Need a Different Approach
Shrinkage: the dry-down surprise
Textured hair can shrink noticeably from damp-to-dry, especially tighter curls and coils. That means what looks blended when hair is slightly moist can tighten up and reveal separation later.
What we do at Barbery Coast:
We plan the fade with shrinkage in mind
We check the blend from different angles and in different “states” (brushed/picked vs. sitting flat)
We build a fade that supports the shape, not just the length
Line retention: the guideline that won’t quit
Curls and coils naturally form clumps. Those clumps can “hold onto” a faint guideline and make it look harsher under bright light.
What helps:
Debulking at the right moment (not as an afterthought)
Cleaner sectioning (curves/diagonals often blend better than straight horizontals)
The right blend technique (clipper + comb/scissor refinement instead of overworking one spot)
Guard Choices by Curl Type (What Works Best)
Different textures “show” transitions differently. Here’s how we typically approach it.
Wavy Hair (Type 2: 2A–2C)
Wavy hair can reveal steps more easily because the pattern is looser.
Best fade strategy
Low-to-mid fades often grow out cleaner
Smaller guard jumps help prevent a stripey look
Example progression: 0.5 → 1 → 1.5 → 2A slight drop behind the ear can keep the silhouette flattering
Common pitfall
Going too tight at the temples can make the area above puff later.
Curly Hair (Type 3: 3A–3C)
Curly hair can hide transitions… until the curl tightens and exposes contrast.
Best fade strategy
Controlled guard progression plus clipper-over-comb
Clean refinement into the mid area so the fade doesn’t “dent” the shape
Common progression: skin/0 → 0.5 → 1 → 1.5We usually preserve a touch of weight right above the fade to prevent a hollow look.
Common pitfall
Taking the sides too short too high can create a “mushroom” silhouette (tight sides + wide shelf above).
Coily / Kinky Hair (Type 4: 4A–4C)
Coily hair can look unbelievably crisp with a fade — but it also makes small mistakes more visible.
Best fade strategy
Micro-steps + lever control (tight transitions, no big jumps)
Pick-and-check to keep the hair lifted consistently
Low-to-mid fades tend to look best and grow out the cleanest
Common pitfall
Over-aggressive line-ups that look perfect for 72 hours, then feel harsh for 3 weeks.
✅ Book Your Texture-First Fade
Ready for a fade that still looks clean after the curls settle?
Book your appointment with Barbery Coast Barbershop.
[Book Now]
📞 Prefer to Call?
Questions about what to book (fade vs taper vs beard combo)? Call the shop and we’ll point you in the right direction.
📍 Visiting Us in San Francisco
Coming in from work or the weekend? Get directions and we’ll see you soon.
Product Routine: Prevent Frizz Right at the Blend Line
That “frizz halo” at the blend line is real. The fade area is short, the hair above is longer and textured, and friction from hoodies, collars, and helmets hits that zone constantly.
A simple routine that protects the fade
1) Cleanse without stripping
Shampoo 2–3x/week (more if you train hard; less if you run dry)
Don’t scrub your scalp like it owes you money
2) Condition every wash
Conditioner = slip, clumping, and less frizz at the transition
3) Layer product based on your texture
Type 2: light leave-in or curl cream + optional mousse
Type 3: leave-in → curl cream → light gel to set
Type 4: leave-in → cream/butter (small amounts) → optional light oil at the perimeter
4) Dry smart
Pat dry (microfiber towel if possible)
Avoid blasting the blend line upward with heat
For coils, drying with a pick lift keeps shape consistent
5) Night routine (the cheat code)
Satin pillowcase or bonnet = fade stays cleaner longer
Fade vs. Taper: Make Sure You’re Asking for the Right Cut
A lot of guys say “fade” when they actually want the cleaner edges of a taper — especially with curls and coils where shrinkage can make a fade feel higher than expected.
Read this before your next appointment:
Fade vs Taper Fade: A San Francisco Barber’s Expert Breakdown
https://www.barberycoastsf.com/barbershop-hair-style-blog/fade-vs-taper-fade-a-san-francisco-barbers-expert-breakdown
Which Barbery Coast Service Should You Book?
If you want the simplest way to choose:
Book a Fade if you want:
A noticeable gradient from skin/short to longer
A sharper “fresh cut” look
A style that pairs well with curls on top (curly crop, curly top, curly mohawk variations)
Book a Taper / Taper Fade if you want:
A more natural grow-out
Clean edges around the temple and nape without going high
A polished look that’s lower maintenance
Book a Beard + Fade combo if you want:
The cleanest overall shape
A balanced profile (especially important with denser curls/coils)
A seamless transition from sideburn into beard
Texture-first tip: If your hair is Type 3C–4C and you’re unsure, start with a low fade or taper fade. You’ll keep control of shape while still getting that sharp finish.
The “Say This in the Chair” Script
Want to communicate what you want without over-explaining?
“I want a low/mid fade that holds after dry-down.”
“Please debulk above the blend line so it doesn’t puff.”
“Can we check it picked out / dry before finishing?”
“Keep the line-up natural, not pushed back.”